Rectangle {
    id: btn
    width: 100
    height: 40
    color: "red"
    anchors.centerIn: parent

    states: [
        State {
            name: "normal"
            PropertyChanges {
                target: btn
                color: "yellow"
            }
            PropertyChanges {
                target: txt
                text: "移出去了"
            }
        },
        State {
            name: "hovered"
            PropertyChanges {
                target: btn
                color: "blue"
            }
            PropertyChanges {
                target: txt
                text: "放进来了"
            }
        }
    ]

    transitions: [
        Transition {
            from: "normal"
            to: "hovered"
            ColorAnimation {
                target: btn
                duration: 1000
            }
        },
        Transition {
            from: "hovered"
            to: "normal"
            ColorAnimation {
                target: btn
                duration: 1000
            }
        }
    ]

    Text {
        id: txt
        anchors.centerIn: parent
    }

    MouseArea {
        anchors.fill: parent
        hoverEnabled: true
        onEntered: {
            btn.state = "hovered"
        }
        onExited: {
            btn.state = "normal"
        }
    }
}
通过使用 `states` 和 `transitions`,可以实现控件在不同状态之间的平滑切换。其中 `states` 定义了组件可能处于的各个状态,每个状态可通过 `PropertyChanges` 修改目标对象的属性值。例如,当鼠标进入时按钮变为“hovered”状态,颜色变为蓝色,并更新文本内容。
而 `transitions` 则定义了状态之间切换时的动画效果。比如从 “normal” 到 “hovered” 的过程中,颜色变化会持续 1 秒钟,形成渐变过渡效果,从而提升用户界面的视觉体验。
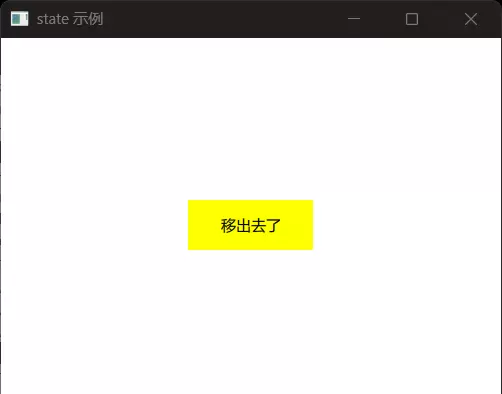
以下是一个基础示例,展示如何利用鼠标事件直接修改属性来改变外观:
import QtQuick 2.15
import QtQuick.Window 2.15
import QtQuick.Controls 2.15
import QtQuick.Layouts 1.15
import QtQuick.Dialogs 6.3
Window {
width: 400
height: 300
visible: true
title: "state 示例"
Rectangle {
id: btn
width: 100
height: 40
color: "red"
anchors.centerIn: parent
Text {
id: txt
anchors.centerIn: parent
}
MouseArea {
anchors.fill: parent
hoverEnabled: true
onEntered: {
parent.color = "yellow"
parent.width = 50
txt.text = "放进来了"
}
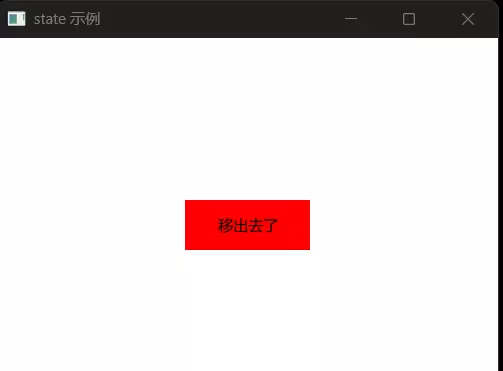
onExited: {
parent.color = "red"
parent.width = 100
txt.text = "移出去了"
}
}
}
}
这种方式虽然也能实现状态变化,但逻辑分散在事件处理中,不利于维护和扩展。相比之下,使用 `states` 与 `transitions` 能更清晰地分离结构与行为,使代码更具可读性和可管理性。
onExited: {
btn.state = "normal"
}
}
onHovered: {
btn.state = "hovered"
}


 扫码加好友,拉您进群
 全部版块
全部版块 我的主页
我的主页

 收藏
收藏


