Overview of Jupyter: A Tool for Rapid PrototypingThe problem in working with a plain text editor is that each time you update something, you have to run the code from the start again. Suppose you have a small code for reading data and processing. The code for data reading is functioning correctly but takes an hour to run. Now if you try to change the code for processing, you have to wait for the code for data reading to run and then see if your update works. This is tiresome and it wastes your time a lot.
To get over this issue, you can use jupyter notebooks. Jupyter notebooks essentially save your progress and let you continue from where you left off. Here you can write your code in a structured way so that you can resume the code and update it whenever you want to.
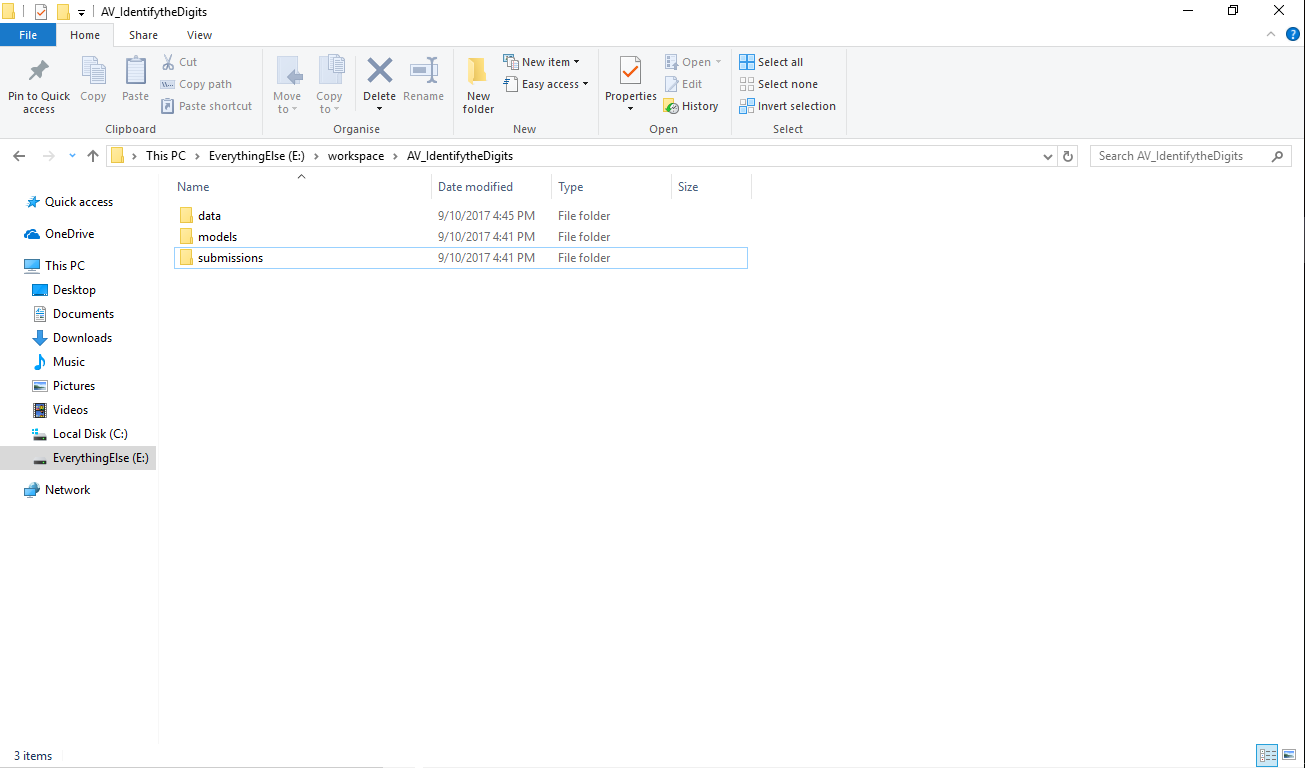
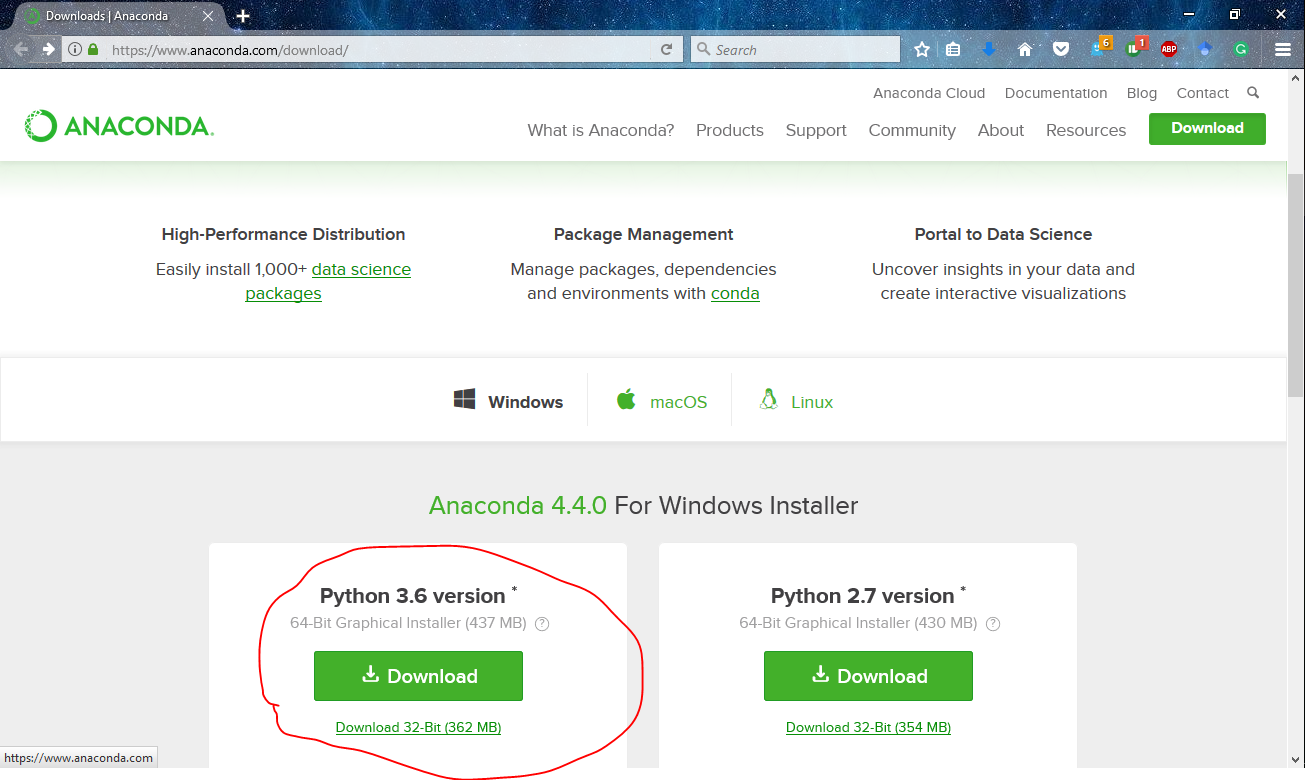
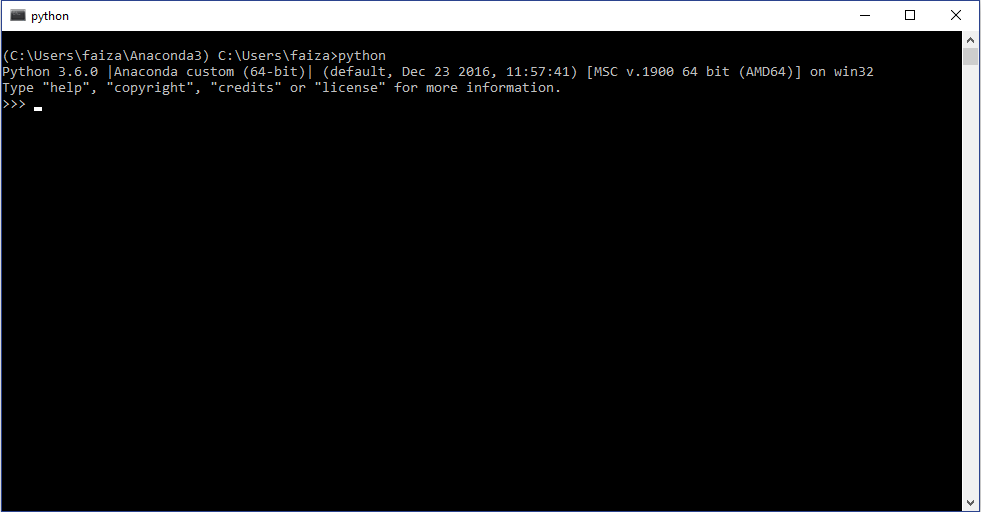
In the section above, you had setup your system with anaconda software. As I mentioned, anaconda has jupyter preinstalled in it. To open jupyter notebook, open the anaconda prompt, go to the directory that you created and type
jupyter notebook
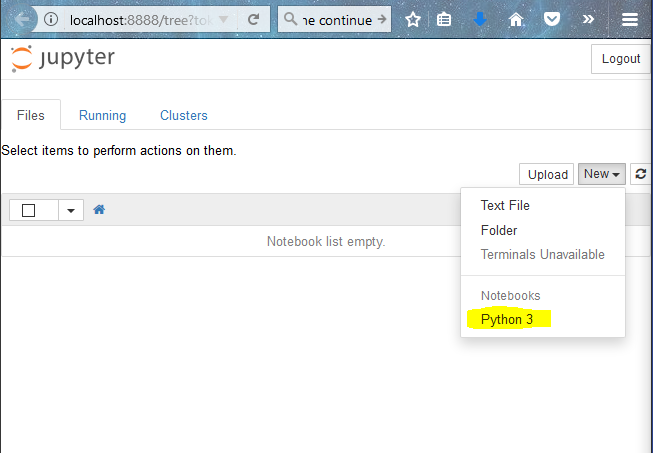
This opens up jupyter notebook in you web browser (Mozilla Firefox for me). Now to create a notebook, click on “New”-> “Python 3”
Now what i usually do is divide the code into small blocks of code, so that it would be easier for me to debug. I always keep these in mind when I write code:
- Note down in plain english what I want to do
- Import all the necessary libraries required
- Write as much generic code as possible so that I would not have to update much.
- Test every little thing as and when I do it.
Here is a sample of code I wrote to solve the deep learning problem mentioned. You can follow along if you like!
Keeping Tab of Experiments: Version Control with GitHubA data science project requires multiple iterations of experimentation and testing. It is very difficult to remember all the things you tried out, which one of those worked and which did not.
One method to control this issue is to take notes of all the experiments that you did and summarize them. But this too is a bit tedious and manual work. A workaround for this (and my personal choice) is to use GitHub. Originally GitHub was used as a code sharing platform for software engineers, but now it is gradually being accepted by the data science community. What GitHub does is provides you with a framework for saving all the changes you did in the code and reverting back to it anytime you want. This gives you the flexibility that you need to do a data science project efficiently.
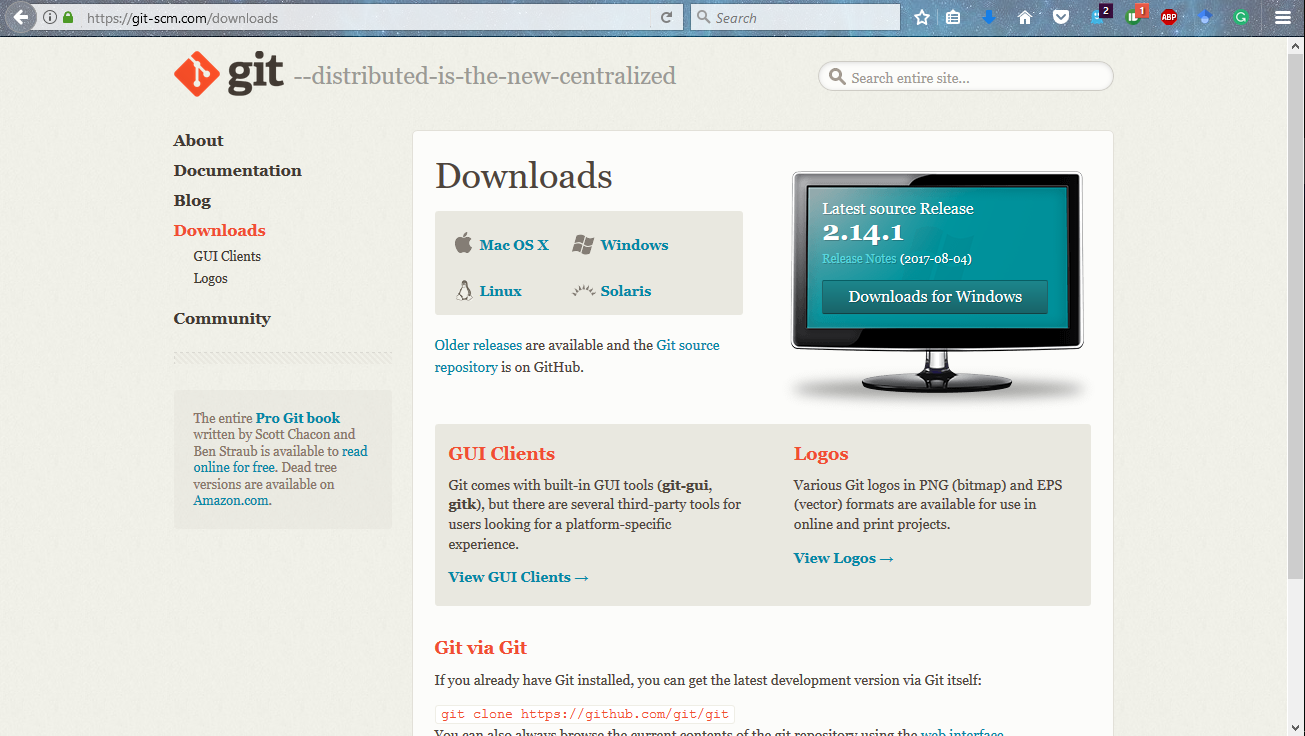
I will give you an example of how to use GitHub. But first, let us install it in our system. Go to the download linkand click on the version as per your system. Let it download and then install it.
This will install git in your system, along with command prompt for it called git bash. The next step is to configure the system with your git account. Once you have signed up for GitHub, you can use this to setup your system. Open up you git bash and type the following commands. 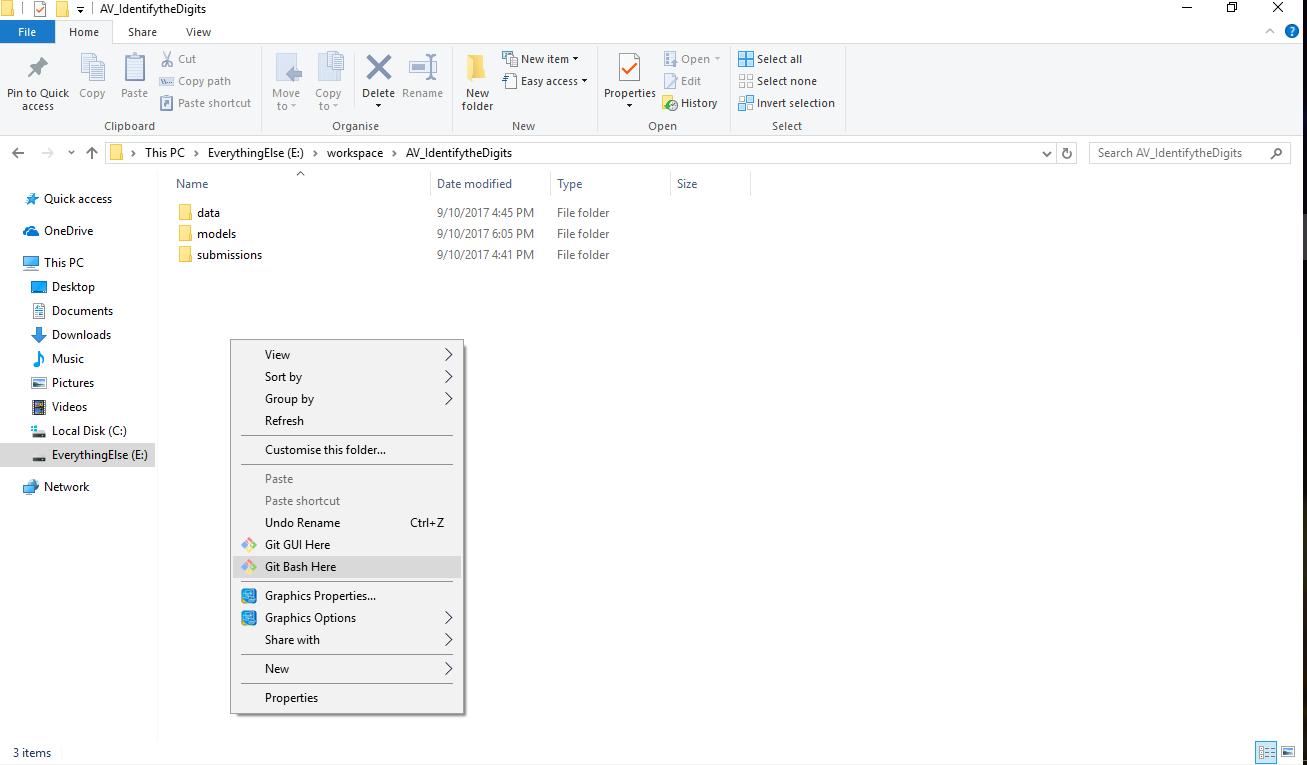
git config --global user.name "jalFaizy"git config --global user.email ff@ff.comNow there’s two tasks you have to do.
- Create a repository on GitHub
- Connect it with your code directory.
To accomplish the tasks, follow on to the steps mentioned below
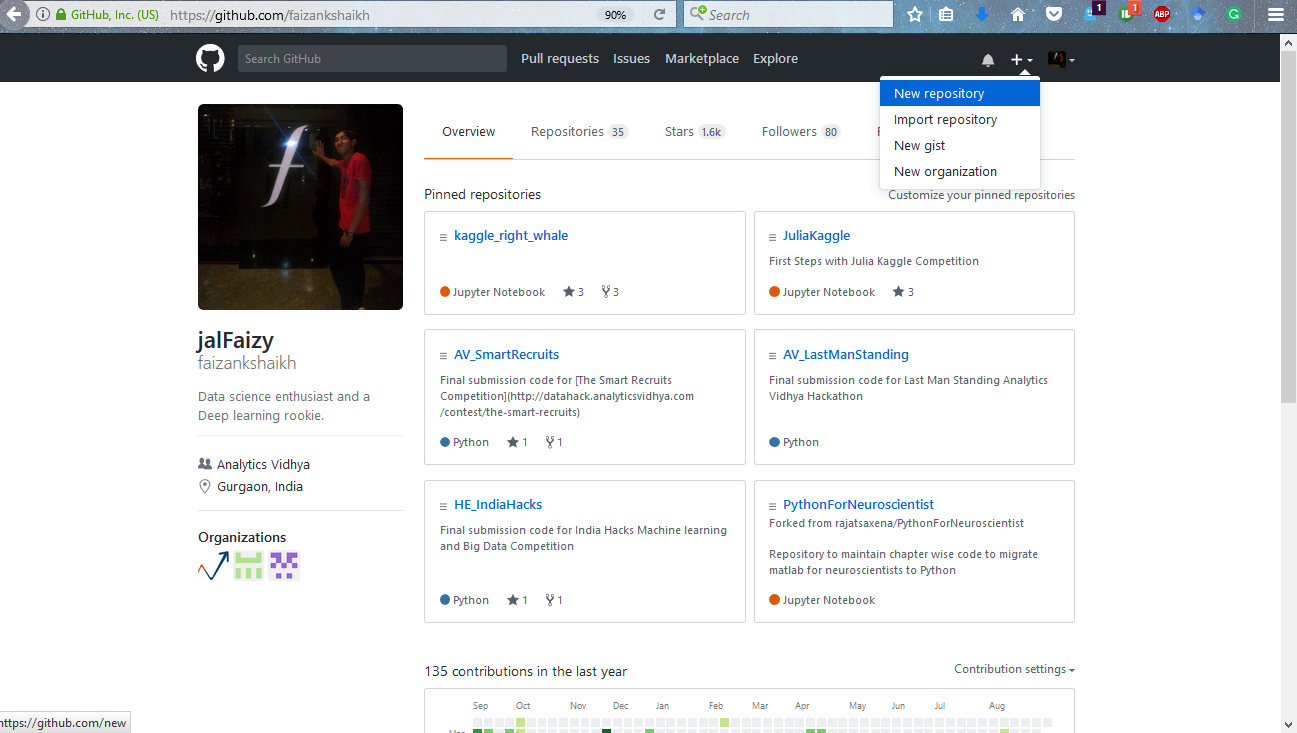
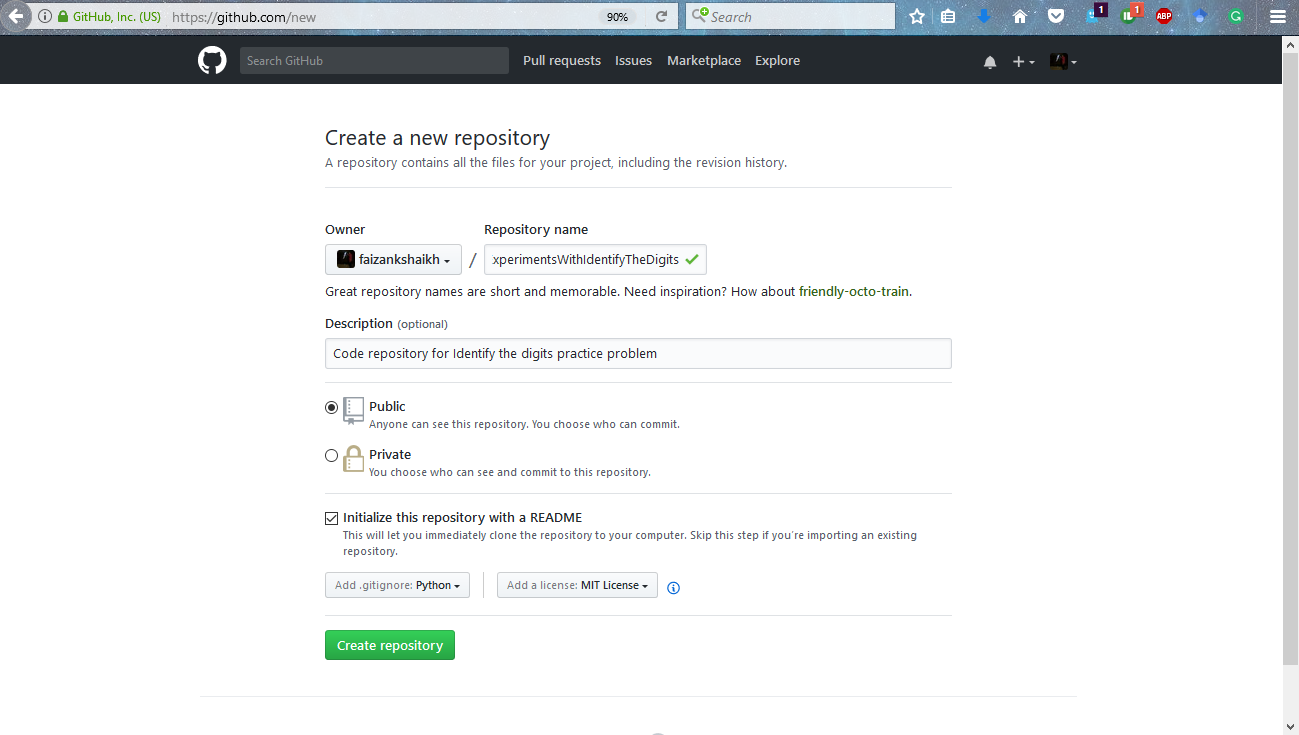
Step 1: Add a new repository on GitHub
Step 2: Give proper descriptions to setup the repository.
 Step 3: Get link to the repository
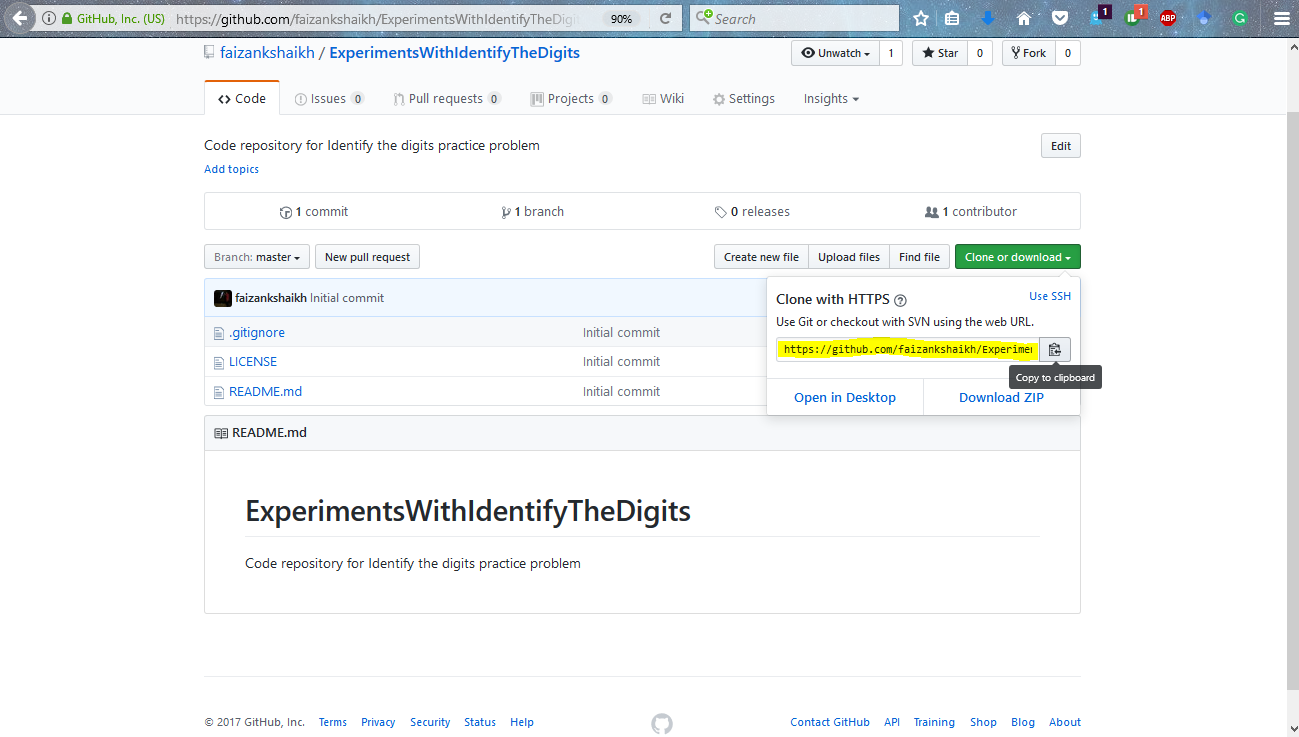
Step 4: Connect you local repository with the repository on GitHub with the commands below.
git initgit remote add origin <add link here>git pull origin masterNow if you want GitHub to ignore the changes in the files you can mention them in .gitignore file. Open it and add the file or folder you want to ignore.
git add -A .git commit -m "add first commit"git push -u origin master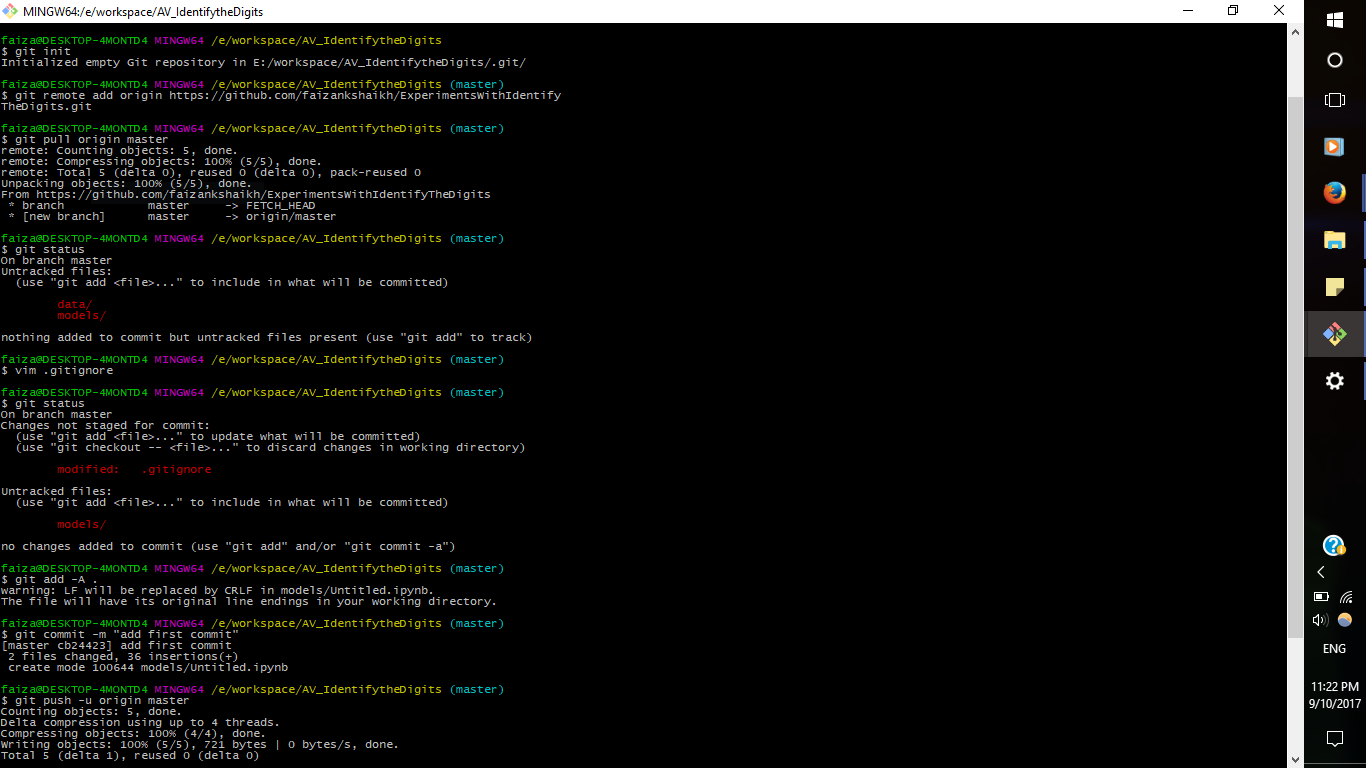
Now each time you want to save your progress, run these commands again
git add -A .git commit -m "<add your message>"git push -u origin masterThis will ensure that you can go back to where you left off!
Running Multiple Experiments at the Same Time: Overview TmuxJupyter notebooks are very helpful for our experimentations. But what if you wanted to multiple experiments at the same time? You would have to wait for the previous command to finish before you can run another one.
I usual have many ideas that I want to test out. And there are times I want to scale up. I use the company’s deep learning box we built a few months back. So I prefer to use tmux for it. tmux or Terminal Multiplexer lets you switch easily between several programs in the same terminal. Here is my command center right now 

We setup Ubuntu in the monster because it seemed like a good idea at that time. Setting up tmux in your system is pretty easy, you just have to install it using the command below
sudo apt-get install tmux
To open tmux, type “tmux” in your command line.

To make a new window, just press control + B and then shift + 5

Now if you want to let this experiment continue and do something else, just type
tmux detachand it will give you the terminal again. And if you want to come back to the experiment again, type
tmux attachAs simple as that! Note that setting up tmux in windows is a bit different. You can refer this articleto set it up in your system.
Deploying the Solution: Using Docker to Minimize DependenciesNow after all the implementations are done, we still have to deploy the solutions so that the end user such as a developer can access it. But the issue we always face is that the system we have might not be the same as that of the user. There will always be installation and setting up issues in their system.
This is a very big problem when it comes to deployment of products in market. So to curb this issue, you can rely on a tool called docker. Docker is works on the idea that you can package code along with its dependencies into a self-contained unit. This unit can then be distributed to the end user.
I usually do toy problems on my local machine, but when it comes to final solutions, I rely on the monster. I had setup docker in that system using these commands
# docker installationsudo apt-get updatesudo apt-get install apt-transport-https ca-certificatessudo apt-key adv \ --keyserver hkp://ha.pool.sks-keyservers.net:80 \ --recv-keys 58118E89F3A912897C070ADBF76221572C52609Decho "deb https://apt.dockerproject.org/repo ubuntu-xenial main" | sudo tee /etc/apt/sources.list.d/docker.listsudo apt-get updatesudo apt-get install linux-image-extra-$(uname -r) linux-image-extra-virtualsudo apt-get install docker-enginesudo service docker start# setup docker for another usersudo groupadd dockersudo gpasswd -a ${USER} dockersudo service docker restart
End NotesIn this article, I have covered what I feel are the necessarily tools for doing a data science project. To summarize, I use Python environment in anaconda stack, Jupyter notebooks for experimentations, Github for saving the crucial experiments, Tmux for running multiple experiments at once, and docker for deployment.
If you have any more tools to suggest or if you use a completely different stack, do let me know in the comments below!


 扫码加好友,拉您进群
 全部版块
全部版块 我的主页
我的主页

 收藏
收藏